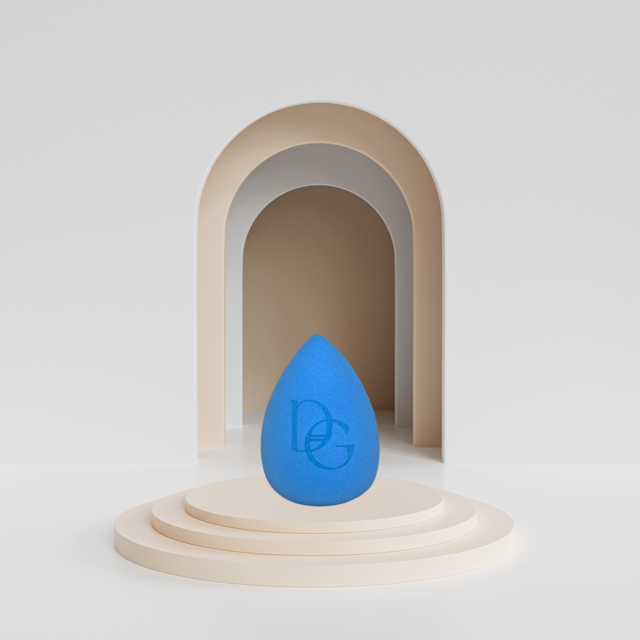
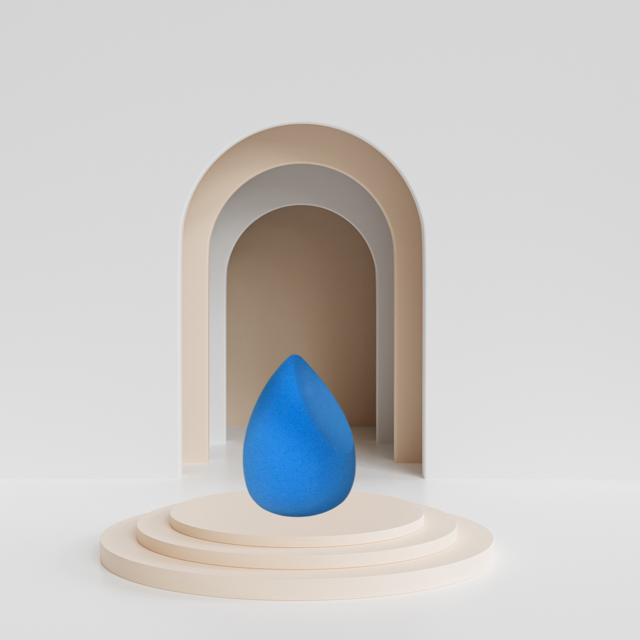


Dare to Glam FlawlessBlend Blender Sponge Duo
- Regular price
-
$8.99 - Regular price
-
$9.99 - Sale price
-
$8.99
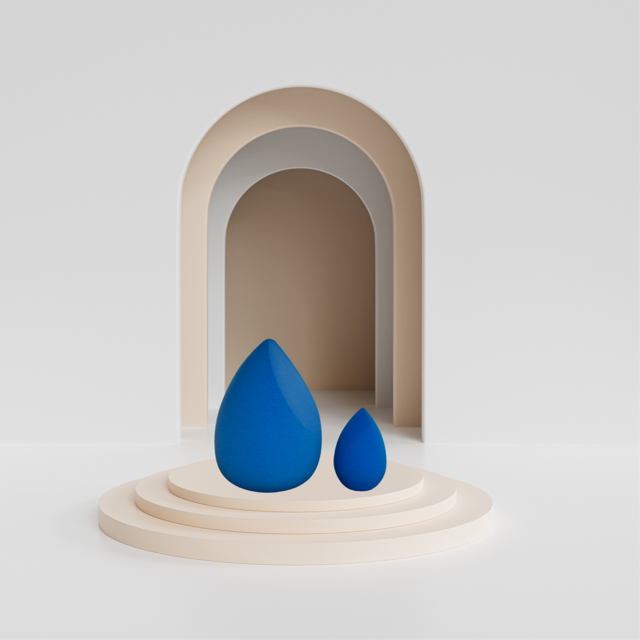
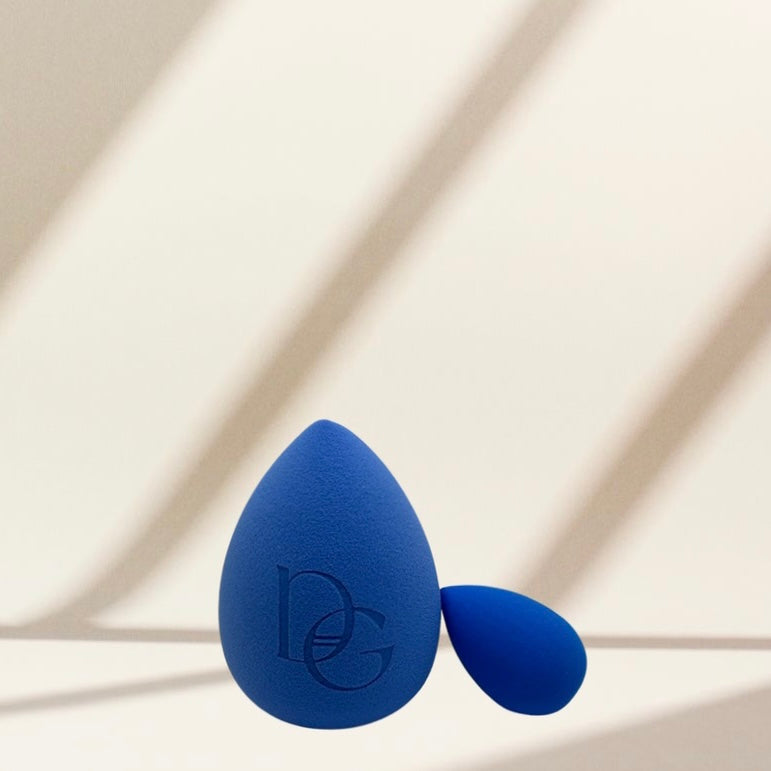
Introducing our FlawlessBlend Blender Sponge Duo, the perfect dynamic duo for flawless makeup application! This set includes two premium-quality ultra-soft sponges expertly designed to achieve a seamless and airbrushed finish.
The larger sponge is ideal for effortlessly blending your foundation, concealer, and cream products across larger areas of your face. The smaller sponge, with its precision tip, allows for precise application in hard-to-reach areas such as around the eyes and nose.
This set is ideal for both wet and dry use, giving you full control over your desired level of coverage. It absorbs just the right amount of product, preventing wastage and saving you money in the long run.
Crafted from high-quality materials, these sponges are ultra-soft, hypoallergenic and gentle on your skin. The duo is also perfect for applying blush, bronzer and highlighter, making it a versatile addition to your makeup routine.
Easy to clean and maintain, our FlawlessBlend Blender Sponge Duo is reusable, eco-friendly, and durable, promising consistent performance over time.
Elevate your makeup game and achieve a flawless, airbrushed look effortlessly with our FlawlessBlend Blender Sponge Duo. Say hello to a radiant and flawless complexion every time you apply your makeup!
Couldn't load pickup availability


FAQs
How do I apply DIY eyelash extensions at home safely and effectively?
To apply DIY eyelash extensions at home safely and effectively, follow these steps:
1. Gather Your Supplies: Ensure you have everything you need ready, including DIY eyelash clusters, clear bond, tweezers, a mirror, and sealant.
2. Prepare Your Workspace: Ensure you have a clean and well-lit area to work in.
3. Cleanse Your Natural Lashes: Remove any makeup, residues or oils from your lashes using a gentle oil free cleanser.
4. Choose the Right Extensions: Select the appropriate length and thickness and style of DIY eyelash extensions that suit your desired look. Consider your eye shape and the look you want to achieve.
5. Use Eyelash Curler: curl your upper natural eyelashes with a curler for an easier application of the DIY eyelash extensions.
6. Apply Clear Bond Carefully: Using a steady hand, apply a small amount of transparent bond to the base of your upper natural lashes. There is no need to apply bond on the whole length of your natural lashes.
7. Attach The Extension : Use the tweezers to apply the DIY eyelash extension segments one by one on, under your natural lashes, 1mm away from your waterline. Apply the DIY eyelash extensions starting from your outer corner of your eye and continue towards the inner corner.
8. Seal and Maintain: Apply sealant and use the tweezers to fuze your lashes and the DIY eyelash extensions together, to enhance longevity and follow proper aftercare to maintain your lashes.
Remember to practice and start with caution to ensure a safe and effective at-home eyelash extension application. If you're new to this read more about apply DIY eyelashes in our tutorial or feel free to get in touch for more guidance.
How can I remove DIY eyelash extensions without damaging my natural lashes?
To safely remove DIY eyelash extensions without damaging your natural lashes, follow these steps:
Step 1: Gather Your Supplies
- You'll need a gentle lash extension remover, cotton pads or swabs, a mirror, and a clean workspace.
Step 2: Wash Your Hands
- Ensure your hands are clean to prevent any dirt or bacteria from getting near your eyes.
Step 3: Apply Lash Extension Remover
- Carefully apply a small amount of the DIY lash extension remover. Be cautious not to get it in your eyes.
Do this in a downward motion, using the provided eyelash brush, following the natural growth direction of your lashes.
Step 4: Wait for Dissolution
- Allow the remover to dissolve the adhesive for a few minutes. Avoid rubbing or pulling on your lashes during this time.
Step 5: Wipe Away Extensions
- After waiting, use a clean cotton pad or swab to wipe away the dissolved extensions. They should come off easily.
Step 6: Cleanse Your Lashes
- Use a mild, oil-free cleanser to wash your lashes and remove any remaining residue.
Step 7: Rinse
- Rinse your eyes gently with cool water to remove any remaining product.
Step 8: Avoid Mascara and Lash Treatments
- Give your natural lashes some time to recover by avoiding mascara and consider using an eyelash enhancing serum.
If you encounter any difficulty or discomfort during the removal process, stop immediately and seek professional assistance. It's essential to be patient and gentle to prevent damage to your natural lashes.
What is the difference between transparent (clear) bond and black bond?
The choice between clear bond and black bond for DIY eyelash extensions depends on the personal preferences and the look you want to achieve. Here are some differences between these two types of bond:
1. Clear Bond
- a clear bond is transparent when applied. it dries to become virtually invisible, making it a more popular choice for those wanting to achieve a natural and seamless look.
- no smudging or smearing: a clear bond doesn't leave visible marks or smudges on your eyelashes, which can be a concern with black bond, especially if it's not applied perfectly. if you have been using DIY eyelash extension for a while, you know the pain of putting on your makeup and ruining it at the end when applying the black bond with a shaky hand.
- clear bond is perfect for every day wear, professional settings, or occasions when you want an understated, natural look without the appearance of heavy makeup.
2. Black Bond
While clear bond offers many advantages, it is important to note that black bond may also have its benefits, especially when you desire a more dramatic look.
Do you offer eyelash curlers suitable for different eye shapes?
Yes, our GlamCurl Lash Enhancer is designed to accommodate various eye shapes. We understand that everyone's eyes are unique, and having the right tool can make a significant difference in achieving beautifully curled lashes. Our curlers provide a comfortable and precise fit for a wide range of eye shapes.
Can I reuse my Dare To Glam DIY eyelash extensions?
Quick answer, yes this is definitely possible. Dare To Glam DIY eyelash extensions are reusable, as long as you follow our instructions on maintaining, cleaning and storing them. Please follow this link for a step by step tutorial on how to clean and maintain your Dare To Glam DIY eyelash extensions at home.
How much time does it take to apply my Dare To Glam Diy eyelash extensions?
The amount of time it takes to apply your Dare To Glam DIY eyelash extensions at home can vary depending on your experience level and the desired look. However, it generally takes around 5 to 10 minutes to apply a full set of lashes.
Can I wear Dare To Glam DIY eyelash extensions if I wear glasses?
Yes, you can wear DIY eyelash extensions even if you wear glasses. However, there are a few things to keep in mind to ensure that your lashes look their best and don't interfere with your glasses.
First, choose a lash length that is shorter than your glasses.
Second, be careful when applying the DIY eyelash extensions. Avoid applying them too close to the base of your natural lashes, as this can make them more likely to touch your glasses. You may also want to use a lash adhesive that is specifically designed for sensitive eyes, as this can help to prevent irritation.
Finally, be gentle with your lashes when you remove your glasses. Avoid pulling on them or rubbing them, as this can damage the extensions.
With a little care, you can wear DIY eyelash extensions and glasses without any problems.
Are Dare To Glam DIY eyelash extensions waterproof?
Yes, Dare To Glam DIY eyelash extensions are waterproof. The Dare To Glam Bond adhesive used to apply the lashes is designed to withstand water and humidity, so you should be able to swim, shower, and exercise without worrying about your lashes falling off.
However, it is important to note that the longevity of DIY lash extensions can be affected by a number of factors, including the application technique, and your own personal habits. For example, if you frequently rub your eyes or use oil-based makeup removers, your lashes may come off sooner than expected. We also do not recommend snorkelling and diving.
Here are some tips for keeping your DIY lash extensions waterproof:
- Use Dare To Glam Bond.
- Avoid rubbing your eyes.
- Use an oil-free makeup remover.
- Pat your lashes dry after getting them wet.
- Avoid using heat styling tools on your lashes.
With proper care, your DIY lash extensions should last for several weeks.
How many DIY eyelash segments do I need to apply on one eye?
The ideal number of DIY eyelash extension segments for you are determined by your eye shape, the desired effect, and the style of extensions you've chosen.
For example, if you want to achieve a natural look, you will need to apply only one row of DIY eyelash segments, that is 4-6 segements for one eye. However, if you want a volume look, you will need to use more segments and double stack them, that is 6-10 segments/eye.
In case you chose Ariana Diy eyelash extenstions tray you will probably need only 4 segments/eye as these are wider than the other styles. Remember, you can always cut segments in two, to achieve your desired look.
Show Us Your Glam
#DareToGlam
