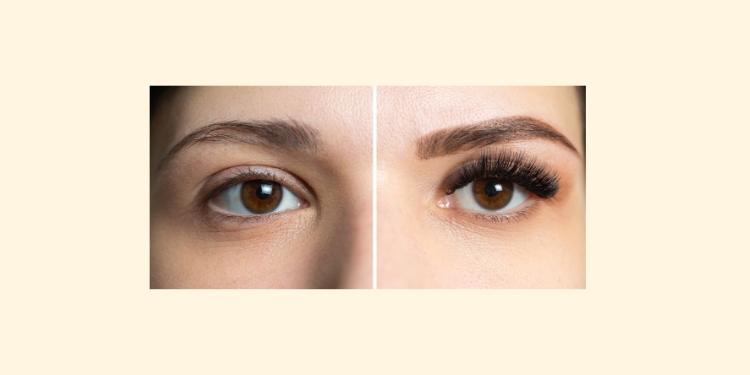
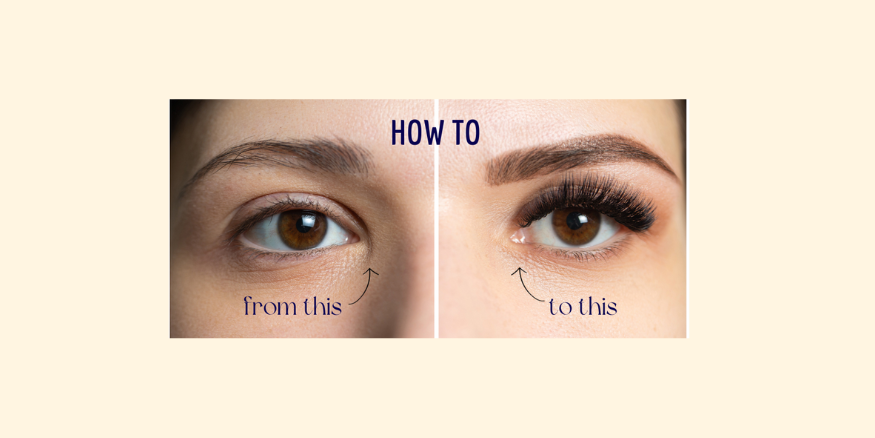
Diy eyelash extensions can be a fun and cost-effective way to enhance your eyelashes and your overall look. However, there may come a time when you will want to, or you will have to remove them; and of course you want to remove them without causing any damage to your naturale eyelashes. In this blog post, you will receive a detailed step-by-step guide to safely and gently remove your DIY eyelash extensions at home, while preserving the health and beauty of your natural eyelashes.
DIY lash extensions can be a great way to enhance your lashes and give them a fuller, more glamorous look. However, it's important to remove them properly to avoid damaging your natural lashes.
So, according to our professional makeup artist, here are the steps you need to follow:
Gather Your Supplies
First things first before you begin, make sure you have the following supplies on hand:
- Oil-free makeup remover: Avoid using oil-based removers, as these can break down the adhesive and damage your natural lashes.
- Cotton pads or swabs: You'll need these to apply the makeup remover.
- Mirror: This will help you see your lashes more clearly when you're removing the extensions.
- Tweezers: Tweezers can be helpful for removing stubborn extensions.
- DIY Eyelash Extensions Remover: This will be the actual product that you will need to apply to your lashes to soften the adhesive.
- Vaseline (optional): To protect your lower eyelids from irritation.
Preparation
- Cleanse your face: Start by washing your face with a gentle cleanser to remove any makeup or dirt. You can use this reusable makeup pads and a little bit of makeup remover liquid.
- Apply Vaseline: Apply a thin layer of Vaseline to your lower eyelids to protect them from irritation. (this step is optional)
- Apply DIY Eyelash Extensions Remover: Apply a fair amount of remover product on top and under your natural lashes, just like you would apply your mascara.
Removal Process
-
Let the remover sit for a couple of minutes: In order to soften the adhesive, leave the remover on your lashes for a few minutes. This will allow you to pull of the DIY eyelash extensions without causing any damage to your natural lashes.
-
Gently remove DIY eyelash extensions: Use tweezers to gently remove the extensions, starting from the inner corners of your eyes and working your way outward. If any extensions are stubborn, try soaking them for a few more minutes with remover.
-
Avoid pulling: Do not pull on your lashes, as this can damage them. Be patient and allow the adhesive to loosen before removing the DIY eyelash extensions.
-
Cleanse again: Once you have removed all of the DIY eyelash extensions, apply one more time a bit of remove on your lashes to remove any remaining adhesive that might have been stuck on your own natural eyelashes.
If you need more help with removing your DIY eyelash extensions, check out this short video
Aftercare
-
Condition your lashes: Apply a lash conditioner or serum to help nourish and strengthen your natural lashes.
-
Avoid rubbing your eyes: Rubbing your eyes can irritate your lashes and make them more likely to fall out.
-
Give your lashes a break: It's a good idea to give your lashes a break from eyelash extensions every few weeks to allow them to rest and recover.
Additional Tips
-
If you find that your lashes are feeling particularly sensitive after removing the extensions, you can apply a cool compress to your eyelids to help reduce redness and irritation.
-
Avoid using eyelash curlers or mascara on your lashes for a few days after removing the extensions. This will give them time to recover from the removal process.
-
If you have any concerns about removing your DIY eyelash extensions, you should consult with a professional lash technician or makeup artist.
By following these simple steps, you can safely and gently remove your DIY eyelash extensions without damaging your natural lashes. With proper care, your lashes will be healthy and strong in no time.