Maintaining and reusing DIY lash extensions can help you get the most out of your investment and keep your lashes looking great. Whether DIY lashes are considered an "investment"depends on your perspective and how often you use them. But for this, I will have a different blog post.
So, I have put together a step-by-step guide for getting the most out of your DIY lashes:
1. First and most important step is to remove lashes gently. After wearing your DIY lash extensions, carefully remove them by applying the remover on the lashes, as you would apply mascara. Repeat movements under the DIY lashes and also above them. The DIY lash extensions should be peeling off at this point. If they don't, it is very important that you do not pull or tug. Wait a little bit, the remover should dissolve the glue and if they are still not coming off, start gently, very gently removing the DIY lash segments one by one, holding them from the base.
2. Next, clean your lashes from any glue residue using an eyelash comb or spoolie. When you have ensured your eyelashes are clean of any glue, use a gentle makeup remover, micellar water, or a specialised lash extension cleanser to remove any remover solution from your lashes. Use the same Apply this with a cotton swab or pad and be gentle to avoid damaging the lashes. To clean the DIY lash extensions themselves, you can gently comb through them with a clean mascara spoolie to remove any residual makeup or debris. I recommend washing them in a tiny cup with warm water and a few drops of shampoo. To dry them, I place them on a paper towel and leave them to dry overnight. You can pop them back in their box in the morning, or you can reapply them.
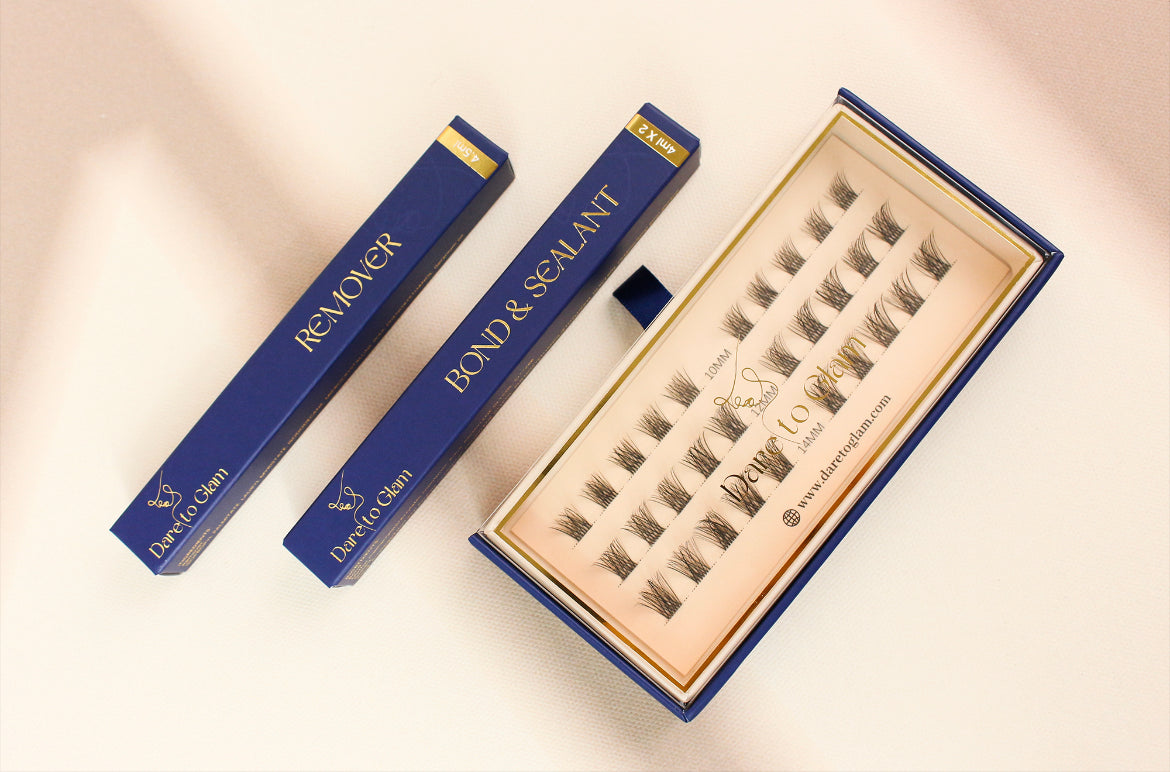
3. The next step is important, in case you are not reusing them right away. So, storing your DIY lashes properly is very important. Place the cleaned and dried DIY lashes in their lash case to help maintain their shape and protect them from dust and debris. If you haven't noticed, the lash case comes with 3 rows of sticky lines, and by holding the tip of the lash segment with the tweezers you can carefully put them back on those lines. Keep the lash case in a cool, dry place away from direct sunlight.
4.This is not a next step, but more like a recommendation. Try to avoid using waterproof mascara and eyeliner when wearing your lash extensions, as they can be more difficult to clean and may reduce the longevity of your lashes.
5. Monitor Lash Condition. Pay attention to the condition of your DIY lash extensions. If they start to lose their shape, become damaged, or have an unnatural appearance, it's time to replace them with a fresh pair for the best results.
By following these steps, you can keep your DIY lash extensions clean, well-maintained, and ready for reuse, helping you achieve that glamorous look time and time again.
Remember that while DIY lashes can be reused multiple times, they do have a limited lifespan, so monitor their condition. If the lashes start to lose their shape or become damaged, it's time to replace them with a fresh pair for the best results.